Game Engine/Unity
[Unity] 코루틴 (Coroutine)
- -
Unity의 Coroutine에 대해 알아보자.
개념
싱글스레드에서 동시성으로 진행되는 일시 중단, 재개가 가능한 프로그램 구성 요소
필요성
1. 시간이 지남에 따라 점진적으로 결과를 보여주고자 할 때
2. 어느 시점으로부터 일정 시간 이후 작업을 진행하고자 할 때
3. 프레임마다 호출이 아닌, 일정 시간마다 호출하여 연산의 수를 줄이고자 할 때
4. 너무 무거운 작업을 Update에서 진행할 시의 오버헤드 방지
설명
1. 동시성

동시성 (Concurrency) : 일을 여러개로 나누어 번갈아 가면서 실행하여 동시에 처리하는 것처럼 보이는 것

병렬성 (Parallelism) : 멀티코어 환경에서 실제로 여러개의 일을 동시에 처리하는 것
기본적으로 싱글스레드로 진행되는 유니티는 Coroutine을 사용하여도 멀티스레드로 진행되지 않고,
싱글스레드의 동시성으로 yield return을 통해 일을 나누어 진행한다.
2. IEnumerator
StartCoroutine의 매개변수 반환형이자 C#의 iterator(반복기)
구현부에서 yield return으로 반환 순서(단계)를 설정할 수 있다.
.Current로 현재 yield return 값을 가져올 수 있고, .MoveNext()로 다음 yield return 까지의 작업을 진행할 수 있다.
using System.Collections;
using UnityEngine;

public class MyIEnumerator : MonoBehaviour
{
    void Start()
    {
        IEnumerator enumerator = Test();

        while (enumerator.MoveNext())
        {
            Debug.Log(enumerator.Current);
        }
    }

    IEnumerator Test()
    {
        Debug.Log("1번째 구간");
        yield return 1;

        Debug.Log("2번째 구간");
        yield return 2;

        Debug.Log("3번째 구간");
        yield return 3;
    }
}
다음은 위의 코드에 대한 결과이다.

3. yield
yield return으로 반복기의 반환점을 지정할 수 있다.
IEnumerator, IEnumerable에서 사용된다.
yield return의 반환 값에 따라 일시 정지, 재개에 대한 기준이 마련된다.
| null | 다음 프레임까지 일시 정지 후 재개 |
| new WaitForSeconds(float seconds) | seconds만큼의 시간동안 정지 후 재개 |
| new WaitForSecondsRealtime(float seconds) | seconds만큼의 시간동안 정지 후 재개, Time.timeScale의 변동 무시 |
| new WaitForEndOfFrame() | 프레임을 화면에 표시하기 직전 즉, 모든 카메라 및 GUI를 렌더링한 후 프레임이 끝날 때까지 정지 후 재개 |
| new WaitForFixedUpdate() | 다음 FixedUpdate 까지 정지 후 재개 |
유니티 공식 문서에 따르면 함수 실행 순서는 다음과 같다.
FixedUpdate - yield WaitForFixedUpdate - Update - yield null - yield WaitForSeconds - LateUpdate - yield WaitForEndOfFrame
더욱 자세한 유니티 함수 실행 순서는 유니티 공식 문서 참고
yield break로 진행중인 코루틴을 중단할 수 있다.
사용법
using System.Collections;
using UnityEngine;

public class MyCoroutine : MonoBehaviour
{
    void Start()
    {
        StartCoroutine(CountNumber());
    }

    IEnumerator CountNumber()
    {
        Debug.Log("Coroutine 1");

        yield return null;

        Debug.Log("Coroutine 2");

        yield return null;

        Debug.Log("Coroutine 3");
    }
}
기본적인 사용법은 IEnumerator로 함수를 구현하고, StartCoroutine으로 해당 함수를 코루틴으로 실행시키는 것이다.
필요한 곳에 yield return을 해주어 분기점을 설정하자.
IEnumerator을 사용하므로 using System.Collections;를 잊지 말도록 하자.
활용법 Ⅰ
시간이 지남에 따라 점진적으로 결과를 보여주고자 할 때의 활용법이다.
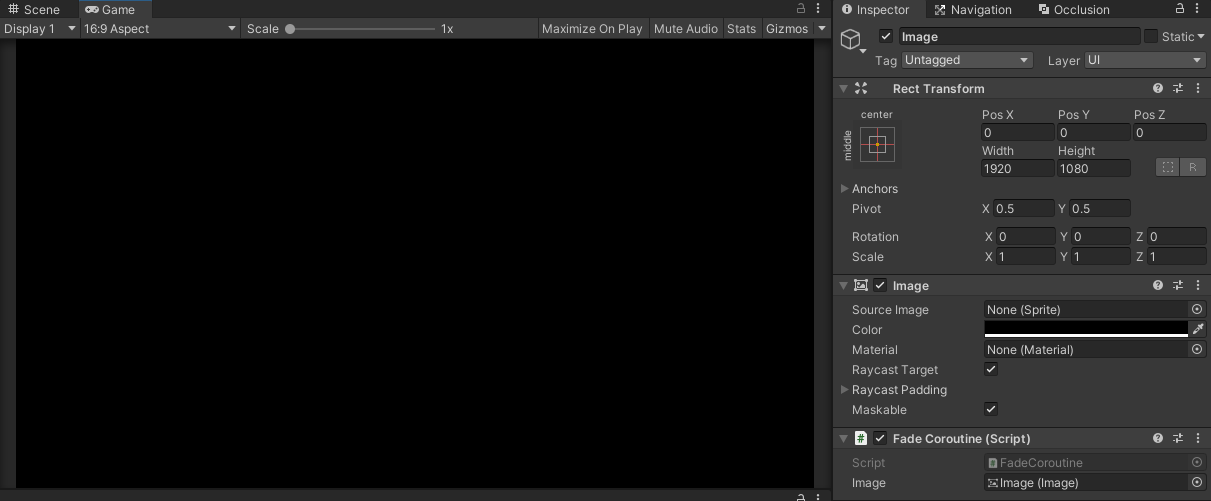
검은색 이미지를 화면에 채운 뒤 FadeCoroutine 스크립트를 부착시켰다.
FadeCoroutine 스크립트는 다음과 같다. (유니티 공식 문서 코드 참고)
using System.Collections;
using UnityEngine;
using UnityEngine.UI;

public class FadeCoroutine : MonoBehaviour
{
    public Image image;

    void Start()
    {
        StartCoroutine(Fade());
    }

    IEnumerator Fade()
    {
        for (float f = 1f; f >= 0; f -= 0.1f)
        {
            Color c = image.color;
            c.a = f;
            image.color = c;
            yield return new WaitForSeconds(0.1f);
        }
    }
}
yield return new WaitForSeconds를 활용해 0.1초마다 이미지의 알파(투명도)값을 0.1씩 낮춘다.
코루틴이 일시 정지 되는 동안 루프 카운트, 멤버변수, 매개변수가 모두 보존된다.
실행 화면은 다음과 같다.

Fade 함수가 코루틴이 아닌 일반 함수였다면,
for문이 모두 끝난 후 알파값이 적용되어 정상적으로 Fade in 되지 않고 즉시 이미지가 투명해지는 상황이 벌어질 것이다.
활용법 Ⅱ
어느 시점으로부터 일정 시간 이후 작업을 진행하고자 할 때의 활용법이다.

버튼에 Coroutines 스크립트를 부착 후,
On Click 이벤트에 해당 버튼의 Coroutines 스크립트의 PressButton 함수를 연결해주었다.
Coroutines 스크립트는 다음과 같다.
using System.Collections;
using UnityEngine;
using UnityEngine.UI;

public class Coroutines : MonoBehaviour
{
    const float delayTime = 2f;

    public void PressButton()
    {
        StartCoroutine(ChangeColor());
    }

    IEnumerator ChangeColor()
    {
        yield return new WaitForSeconds(delayTime);

        Color c = GetComponent<Image>().color;
        c.b = 0f;
        GetComponent<Image>().color = c;
    }
}
delayTime 이후에 그 아래의 작업들이 진행될 것이다.
실행 화면은 다음과 같다.

활용법 Ⅲ
프레임마다 호출이 아닌, 일정 시간마다 호출하여 연산의 수를 줄이고자 할 때의 활용법이다.
다음과 같이 작성 시, Update 함수에서 프레임마다 호출하는 것보다 프레임 드랍을 줄일 수 있다.
using System.Collections;
using UnityEngine;

public class MyCoroutine : MonoBehaviour
{
    public Transform player;
    public Transform enemy;

    void Start()
    {
        StartCoroutine(CountNumber());
    }

    IEnumerator CountNumber()
    {
        while (true)
        {
            if (Vector3.Distance(player.position, enemy.position) < 10f)
                Debug.Log("Detected Player");

            yield return new WaitForSeconds(0.2f);
        }
    }
}
활용법 Ⅳ
하나의 Coroutine 객체로 코루틴을 관리하는 활용법이다.
다음은 버튼을 눌러 코루틴을 시작하고, 키보드의 Space 키를 눌러 해당 코루틴을 종료하는 스크립트이다.
기본적으로 StopCoroutine(IEnumerator enumerator)으로 enumerator가 실행되고있는 코루틴을 종료할 수 있고,
StopAllCoroutines()로 해당 스크립트의 진행되고 있는 모든 코루틴을 종료할 수 있다.
using System.Collections;
using UnityEngine;

public class Coroutines : MonoBehaviour
{
    const float delayTime = 2f;
    Coroutine state;

    public void PressButton()
    {
        if (state == null)
            state = StartCoroutine(StartDelay());
    }

    private void Update()
    {
        if (Input.GetKeyDown(KeyCode.Space))
        {
            if (state != null)
            {
                StopCoroutine(state);

                Debug.Log("Stopped Coroutine");
                state = null;
            }
        }
    }

    IEnumerator StartDelay()
    {
        Debug.Log("Start");

        yield return new WaitForSeconds(delayTime);

        Debug.Log("End");
        state = null;
    }
}
동일한 코루틴을 연속해서 StartCoroutine하면 여러개의 동일한 코루틴이 실행되므로 주의하자.
이는 원래의 목적과는 다르게 진행될 것이며, StopCoroutine 또한 처음 시작된 하나의 코루틴만 종료시키게 된다.
하지만, Coroutine 객체를 활용하여 위의 스크립트처럼 관리한다면 안정적으로 코루틴을 관리할 수 있다.
이를 응용하면 여러개의 코루틴을 순환하며 관리할 수도 있다.
실험을 통한 이해
코루틴의 동시성을 이해하기 위한 코루틴의 진행 순서 실험
using System.Collections;
using UnityEngine;

public class MyCoroutine : MonoBehaviour
{
    int updateCnt = 1;
    int lateUpdateCnt = 1;

    void Start()
    {
        Debug.Log("Start");
        StartCoroutine(CountNumber());
    }

    void Update()
    {
        if (updateCnt < 4)
            Debug.Log("Update " + updateCnt++);
    }

    void LateUpdate()
    {
        if (lateUpdateCnt < 4)
            Debug.Log("LateUpdate " + lateUpdateCnt++);
    }

    IEnumerator CountNumber()
    {
        Debug.Log("Coroutine 1");
        yield return null;

        Debug.Log("Coroutine 2");
        yield return null;

        Debug.Log("Coroutine 3");
    }
}
Start 함수에서 StartCoroutine한 후, Update와 LateUpdate 실행 순서를 확인한다.
결과는 다음과 같다.

코루틴은 StartCoroutine 이후 바로 호출되며,
코루틴이 시작된 다음 프레임부터 Update - Coroutine - LateUpdate 순서를 가진다.

대략 이정도 느낌의 동시성으로 진행된다는 것을 알 수 있다.
개인 공부용 포스팅인 점을 참고하시고, 잘못된 부분이 있다면 댓글로 남겨주시면 감사드리겠습니다.
'Game Engine > Unity' 카테고리의 다른 글
| [Unity] Navigation - NavMeshAgent (1) | 2022.07.23 |
|---|---|
| [Unity] Navigation - NavMesh, OffMeshLink (0) | 2022.07.20 |
| [Unity] 레이캐스트 (Physics.Raycast) (0) | 2022.07.09 |
| [Unity] transform.Rotate, Quaternion.Euler 차이 (0) | 2022.07.03 |
Contents
소중한 공감 감사합니다